
Installing Microsoft SQL Server 2012 Standard Edition SP1 in my Home Lab
 Currently I’m playing with some products from the Microsoft System Center 2012 Suite in my Home Lab. I’m Starting the whole installation by installing a new Virtual Machine with Microsoft SQL Server 2012 (Standard Edition).
I used a dedicated VM that will be used to host the database of Configuration Manager 2012 and Orchestrator 2012 (at least.. for now)
Resources
Installation
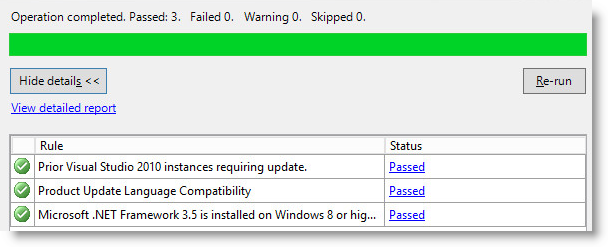
1 - After launching the SQL 2012 Server Installation, you should first run the System Configuration Checker. This small tool will check if you have every requirements to install SQL Server.

2 - The System Configuration Checker.As you can see, the Setup support Rules identify problems that might occur when you install SQL Server Setup support files. Failures must be corrected before Setup can continue.
 3 - Select Installation on the left navigation pane and select New SQL Server stand-alone installation or add features to an existing installation
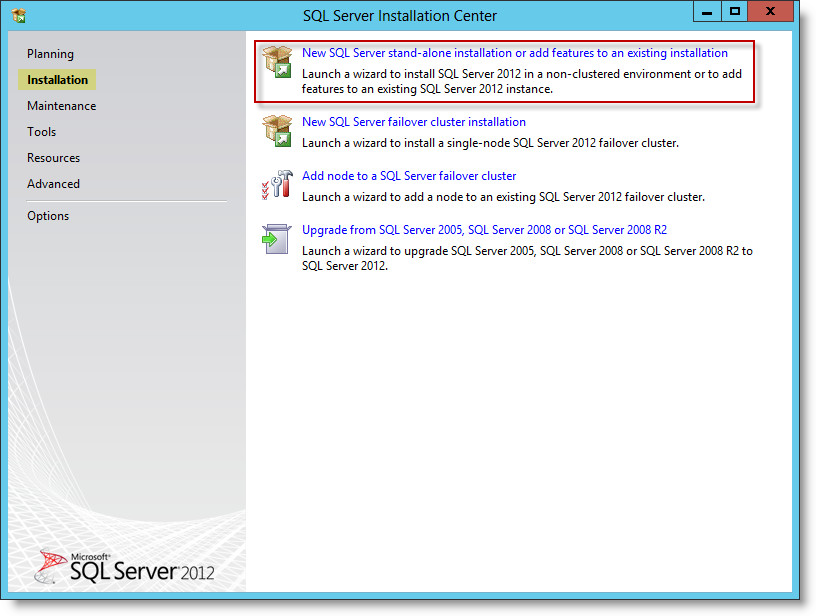
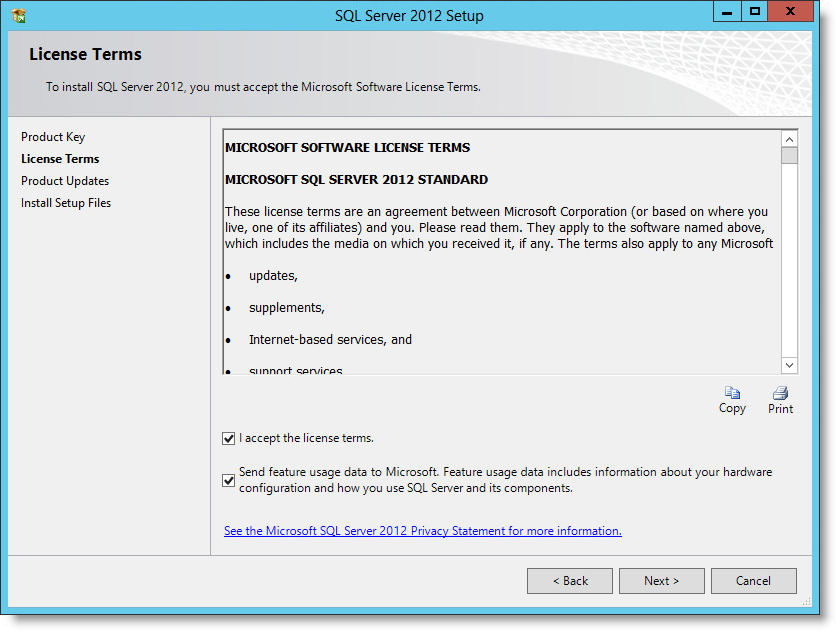
4 - Enter your Product key or select Specify a Free Edition if you just want to and evaluation version.

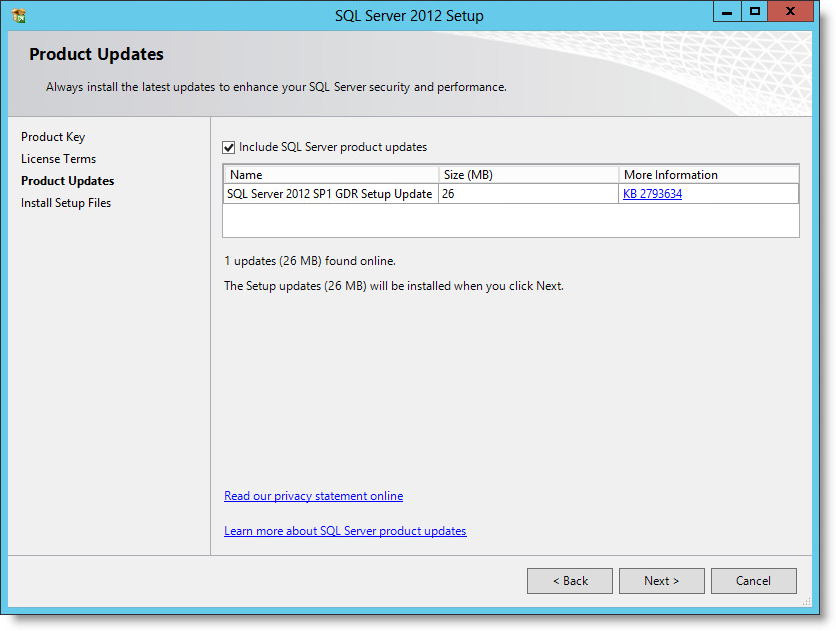
 6 - Leave the "Include SQL Server product updates" checked and click on Next.
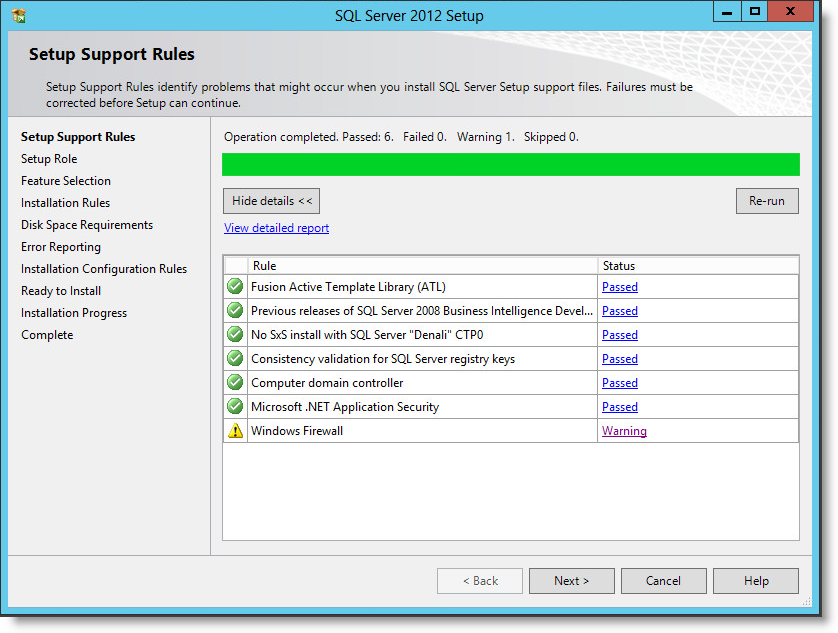
 7 - On the Setup Support Rules, you can see that my firewall generate a warning.
I'll open the firewall later on. Click Next to continue
7 - On the Setup Support Rules, you can see that my firewall generate a warning.
I'll open the firewall later on. Click Next to continue
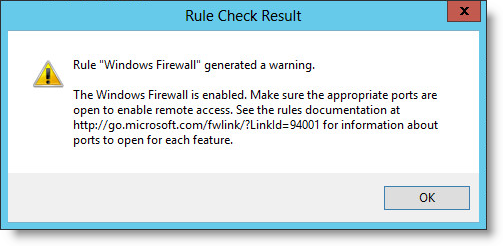 |
| When you click on the Windows Firewall rule Warning Link, you'll see the information above |


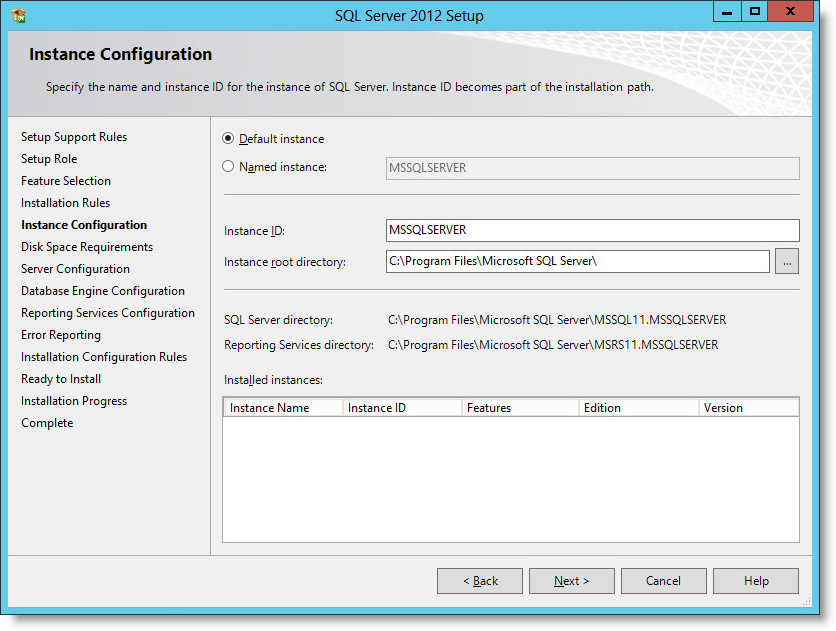
 10 - Specify the name and instance ID of the SQL Server Instance. By default: MSSQLSERVER. I continue with this setting and click Next.
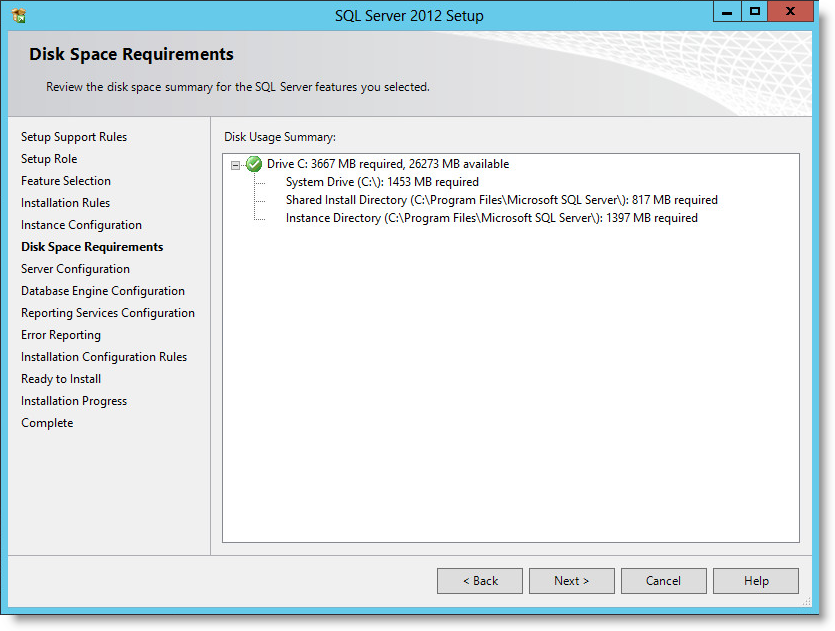
 11 - Review the disk space required for SQL Server and click Next. If you need to change the location of the database, click back and specify another folder/drive.
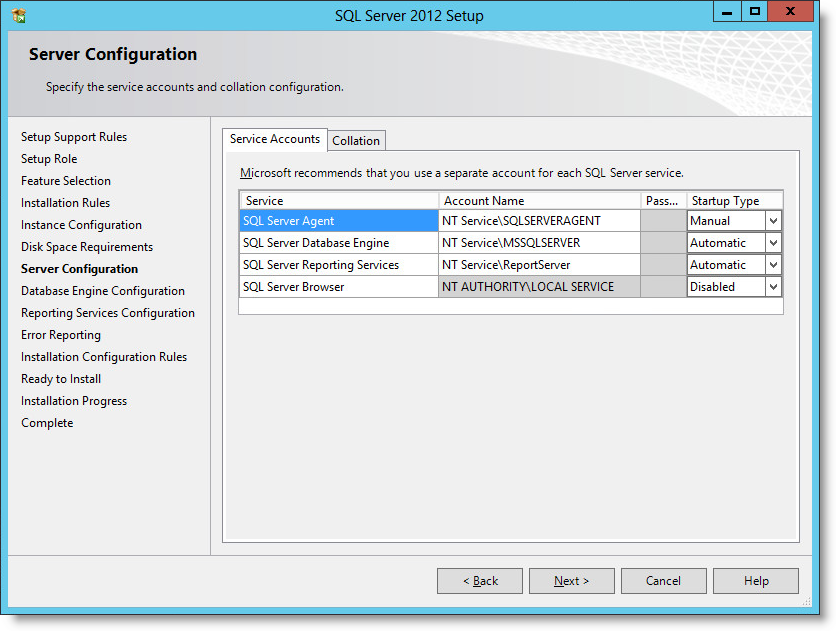
 12 - Specify the service accounts and collation configuration, here I set NT AUTHORITY\System for:
* SQL Server Agent
* SQL Server Database Engine
* SQL Server Reporting Services
12 - Specify the service accounts and collation configuration, here I set NT AUTHORITY\System for:
* SQL Server Agent
* SQL Server Database Engine
* SQL Server Reporting Services
 |
| Before |
 |
| After |


 16 - Tick the "Send Windows and SQL Server Error Reports to Microsoft ..."
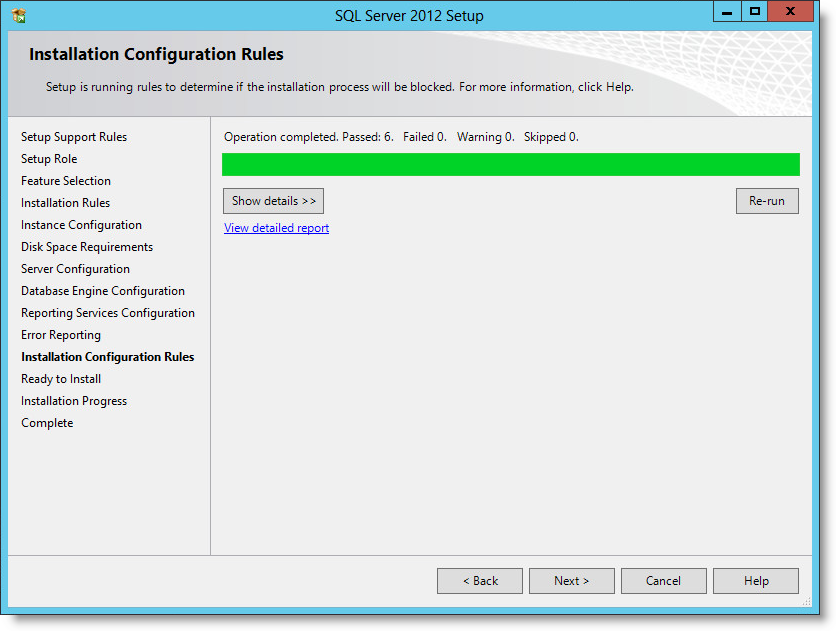
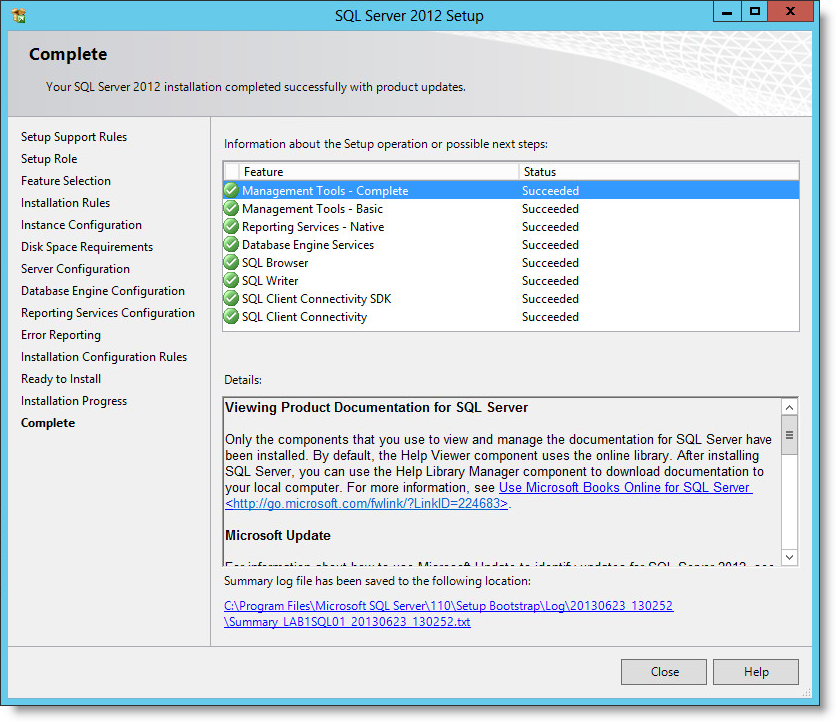
 17 - The Setup is running rules to determine if the installation process will be blocked during the installation process.
 Optionnaly you can check the ConfigurationFile.ini generated by the wizard. This can be reused for another installation.
 |
| ConfigurationFile.ini |
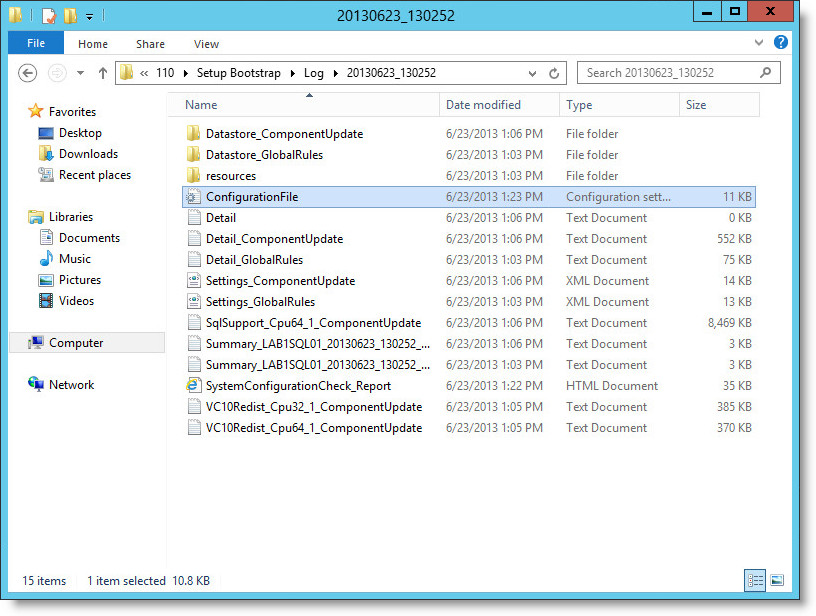 |
| ConfigurationFile.ini can be found under c:\Program Files\Microsoft SQL Server\110\Setup Bootstrap\Log\ |
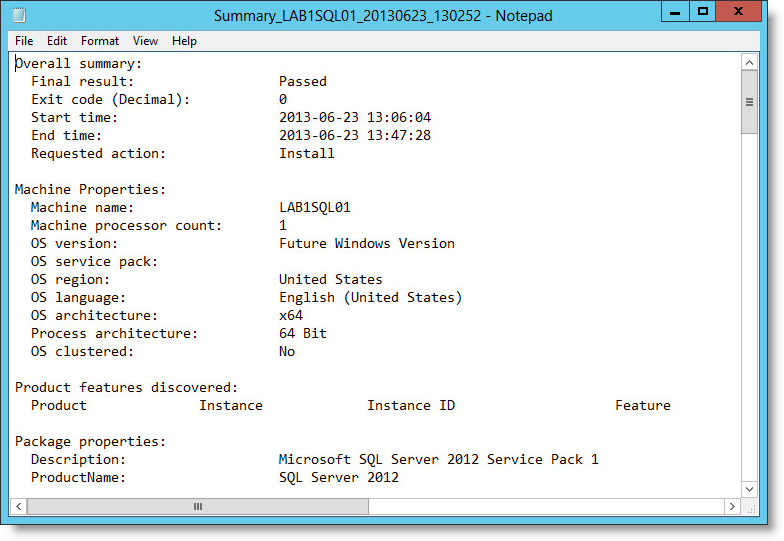
 You can check the logs under c:\Program Files\Microsoft SQL Server\110\Setup Bootstrap\Log
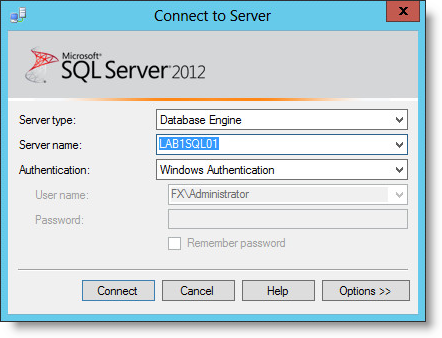
 20 - Finally you can launch SQL Server 2012 Management Studio to verify that everything run as expected.

Leave a comment